How to build and install OpenCV with Qt support in macOS
Recently I’ve been working on an image processing research project at the University. This project has required me to use OpenCV mostly for some image processing functions. However, sometimes I’ve had to use some of its GUI functionalities, primarily the imshow() function to quickly view the resulting images.
Consequently, when OpenCV became a requirement, I proceeded to install it using Homebrew:
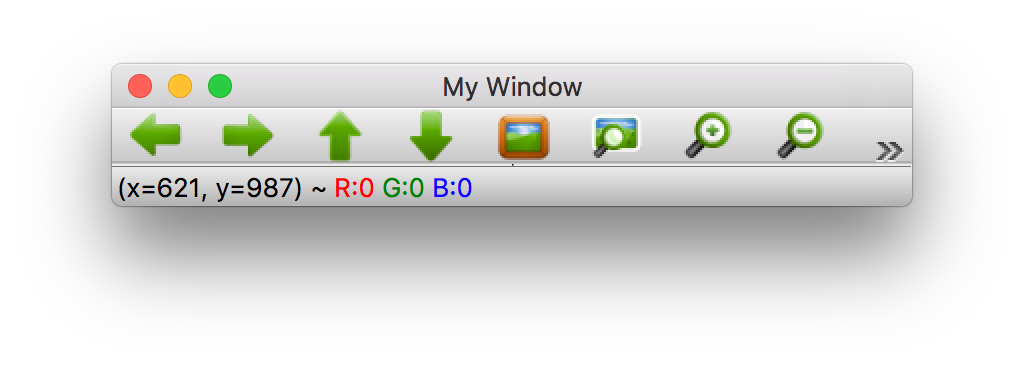
brew install opencvAfter running a simple example to show an image, yes, the image was there; but the window didn’t have any of the zooming and panning buttons I was used to in Linux. Neither it had the (x,y) coordinates of the mouse pointer over the image.
I used it like this for a while, but after some time, this functions became a necessity for me, especially since I’m working with feature detection algorithms and I need to visually check for the centroids of the detected objects.
I knew these GUI functions were possible by building OpenCV with Qt, so I started digging into this matter. First, I tried to check whether Homebrew had an option to install with Qt. The command to check for the options of a formula is:
brew options <formula>Nothing…
I knew there was a formula in homebrew/science that had a “with Qt” option but I didn’t want to use this since it’s deprecated and I couldn’t find any recent instructions on how to install OpenCV with Qt. So I decided to build it and install it from source, here’s how:
Requirements
Xcode Command Line Tools
Since you are going to compile OpenCV, you need a compiler. Install the XCode Command Line Tools by pasting the following into a terminal:
xcode-select --installHomebrew
If you don’t have Homebrew installed already, paste this into a terminal:
/usr/bin/ruby -e "$(curl -fsSL https://raw.githubusercontent.com/Homebrew/install/master/install)"If you are using macOS High Sierra, you could have a Symlink Error with Homebrew when installing formulas. If this is the case, run this command in your terminal:
sudo chown -R $(whoami) $(brew --prefix)/*Qt
Next, you need to install Qt, to do so with Homebrew just run this in a terminal:
brew install qt5CMake
We’re going to use CMake GUI to configure the build. You could do this from the terminal, but the GUI is a great tool for the insight it provides on possible errors.
If you previously installed CMake with Homebrew remove it with:
brew uninstall cmakeGo to the CMake downloads page and download the .dmg for your macOS version. Install it as you would with any other .dmg
OpenCV source code
Download the** source code **from the official Github repository release page. You can find it here.
Installation
Unzip the source code you just downloaded. Inside the resulting directory make a new directory named “release” or “build” or as you wish. Just remember the name
Open CMake and browse both the downloaded directory and the created directory. It should look something like this:
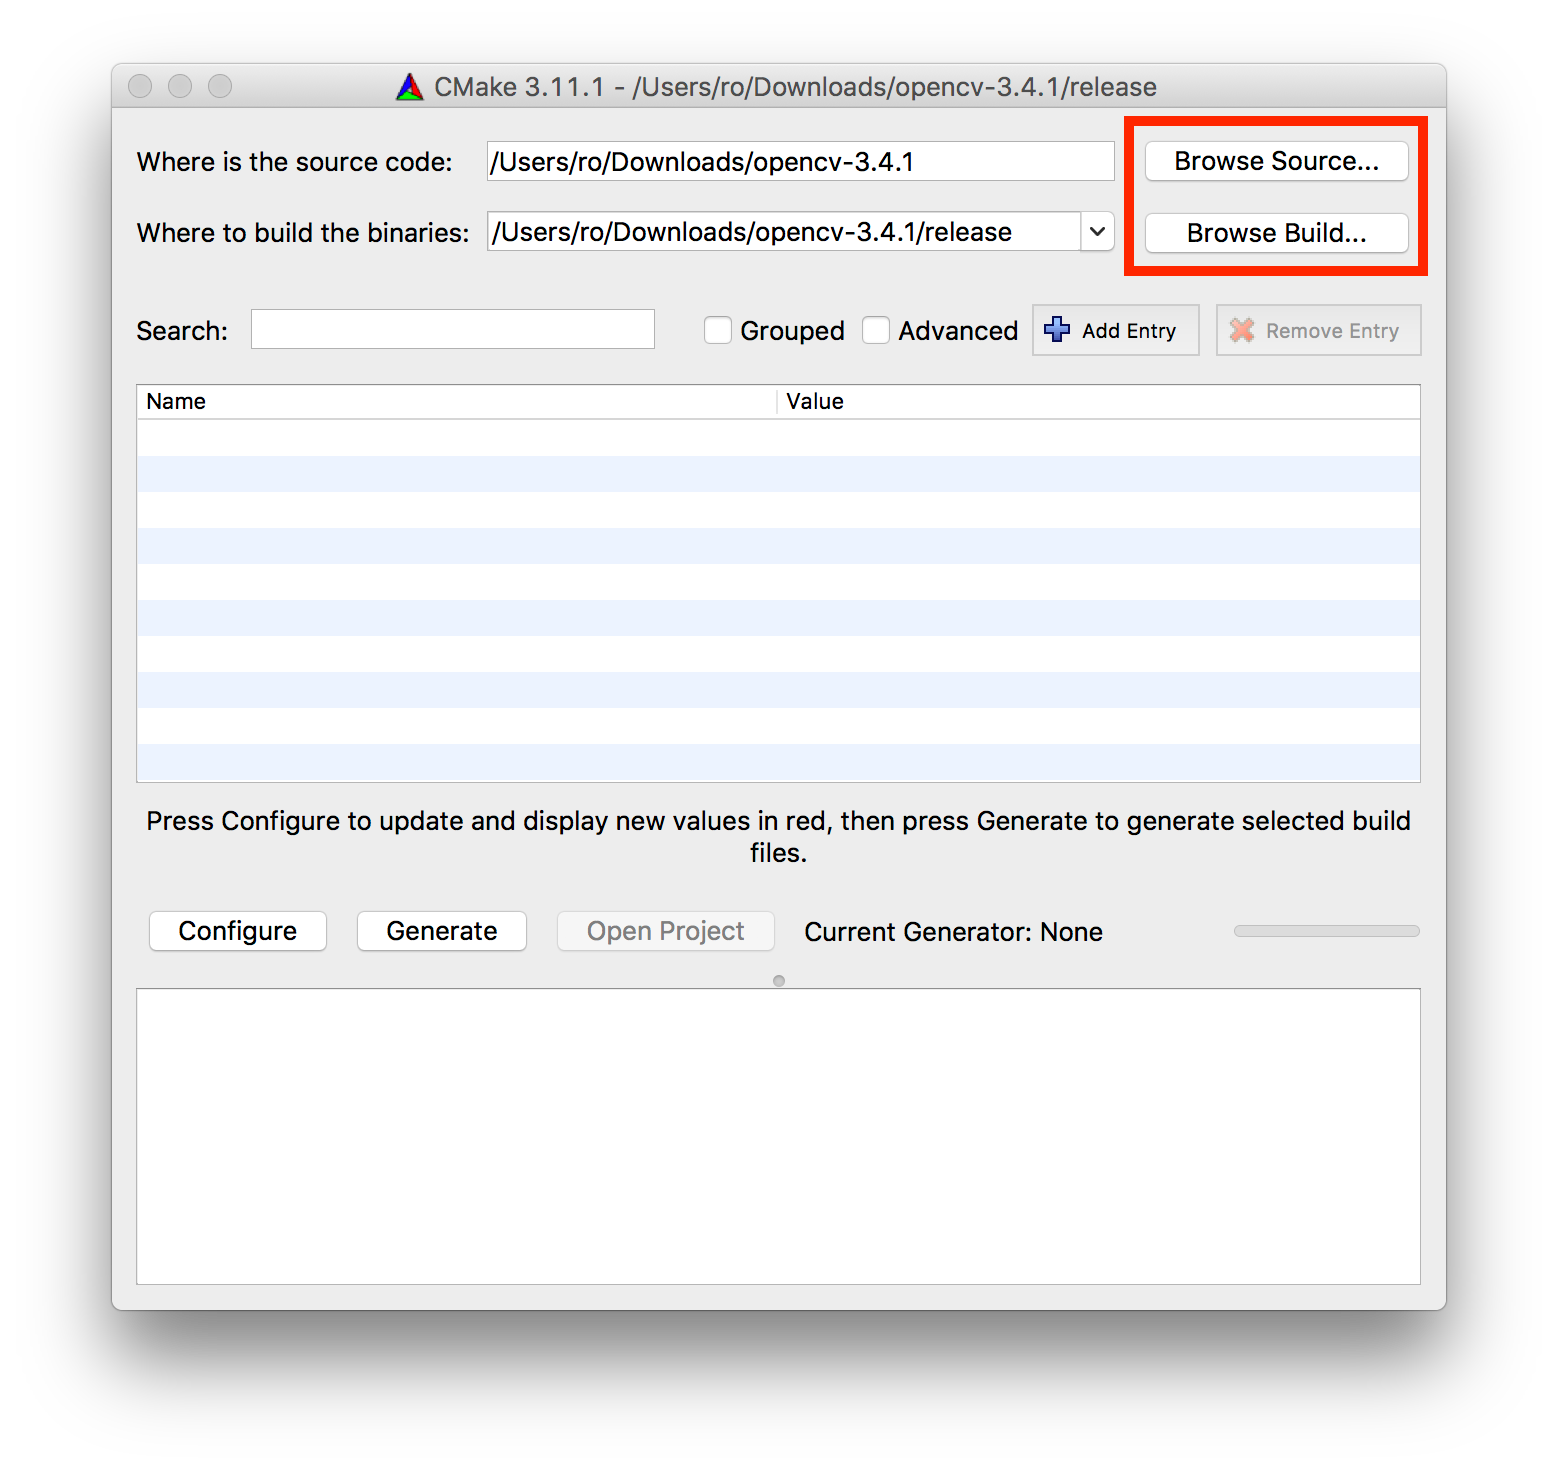
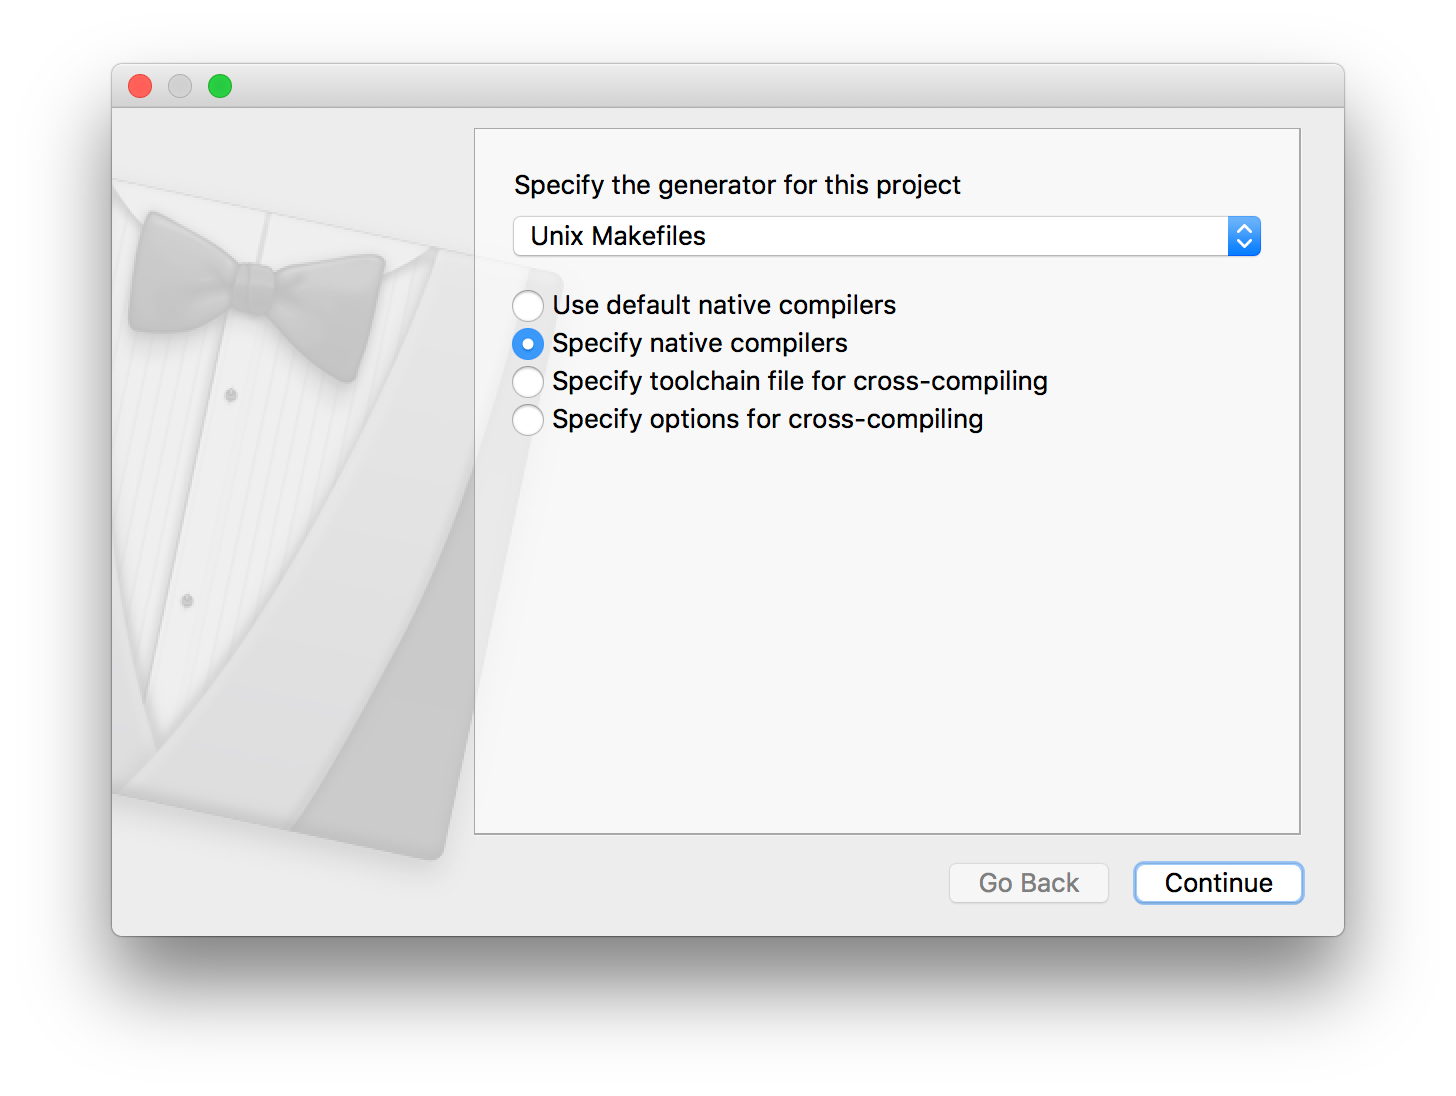
Click on the “Configure” button. After that, a window will appear prompting you to specify the generator for this project. Select “Specify native compilers” and input the path to your compilers.
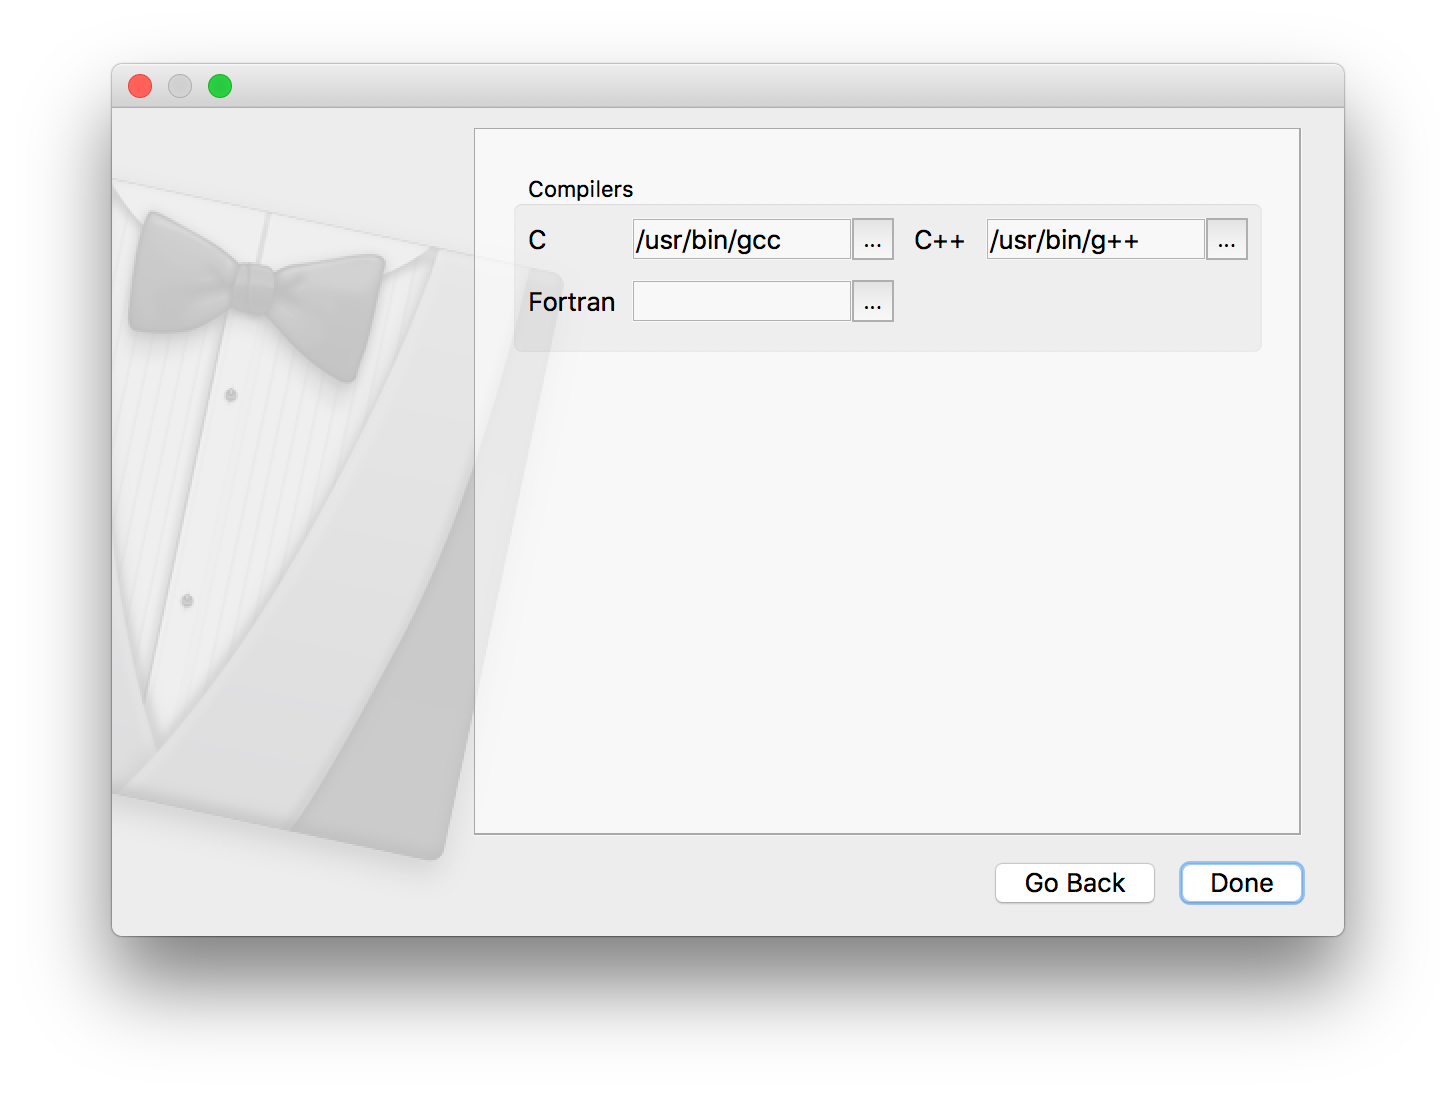
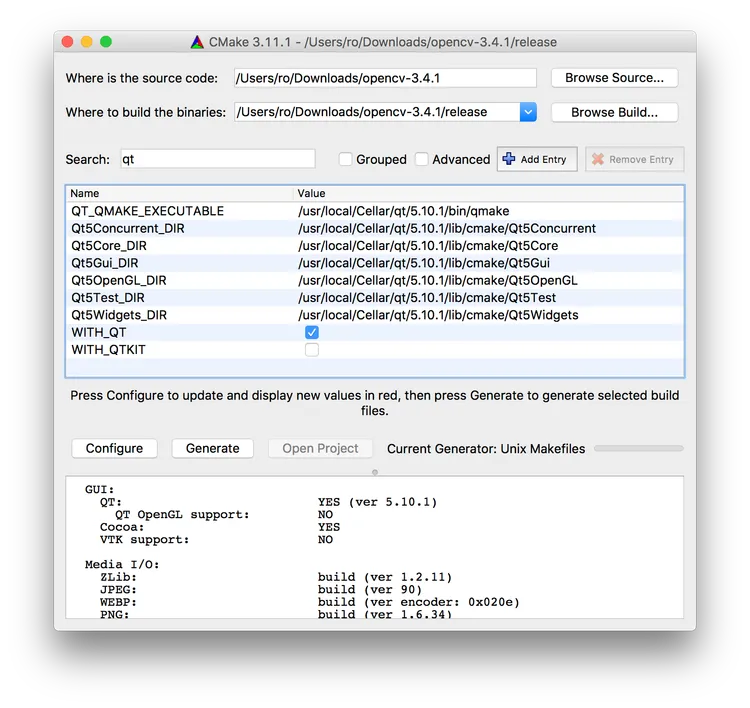
After this, CMake will test the compilers. This process will take a while. After that, we need to configure the build to use Qt. Find the following options:
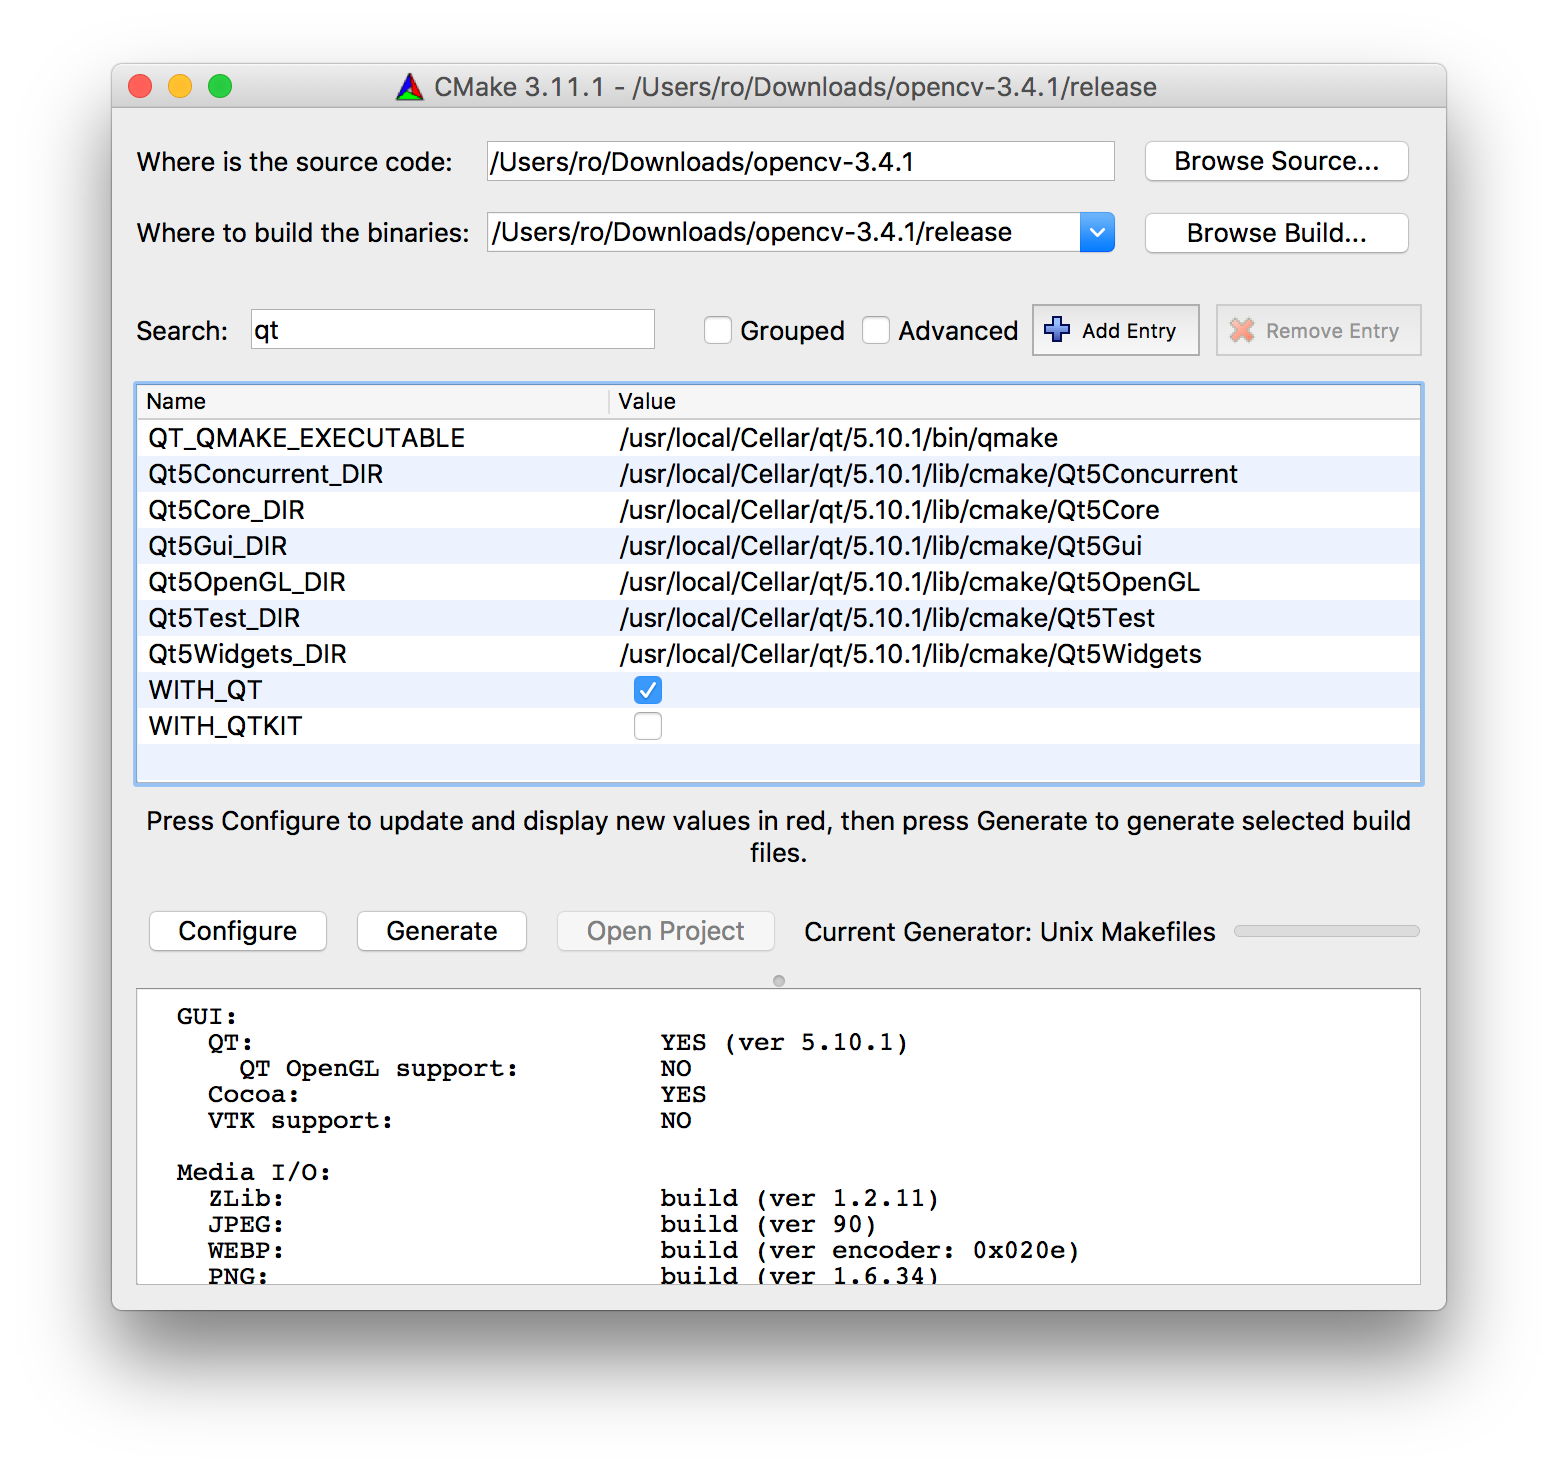
Check the option WITH_QT. The other options depend on your Qt installation directory, but they should be similar. To find out the installation directory for Qt in your machine run the command:
brew info qt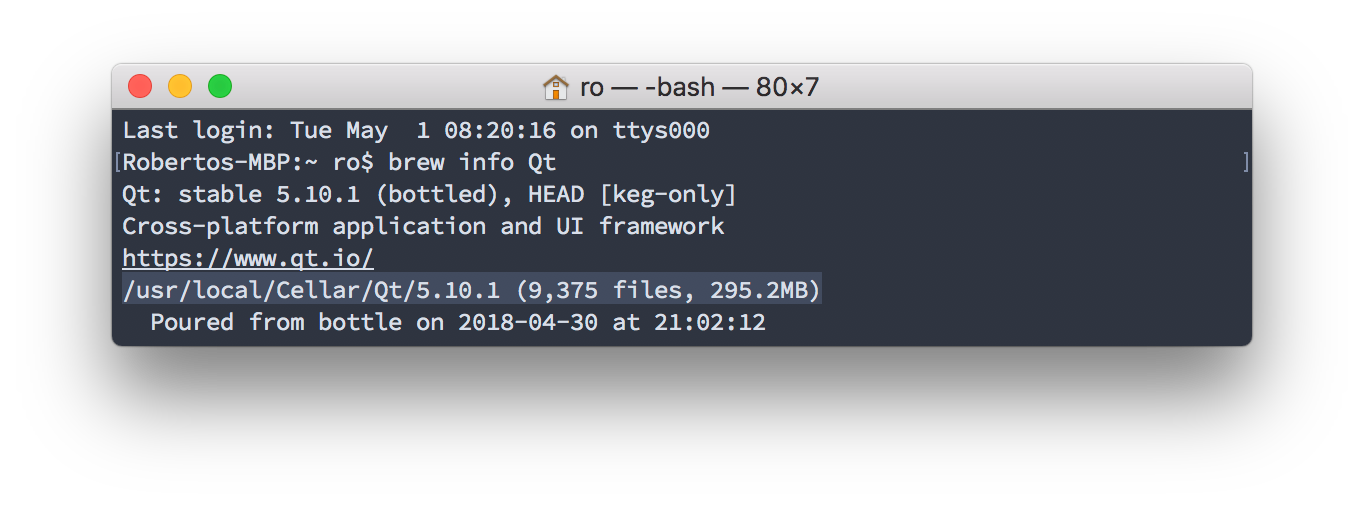
After this, click on “Configure” and CMake will attempt to configure your build. After this, if the configuration was successful, click on “Generate”. Then, open a terminal and navigate to your created directory (named “release” or “build” or the name you chose). After that, build OpenCV with:
make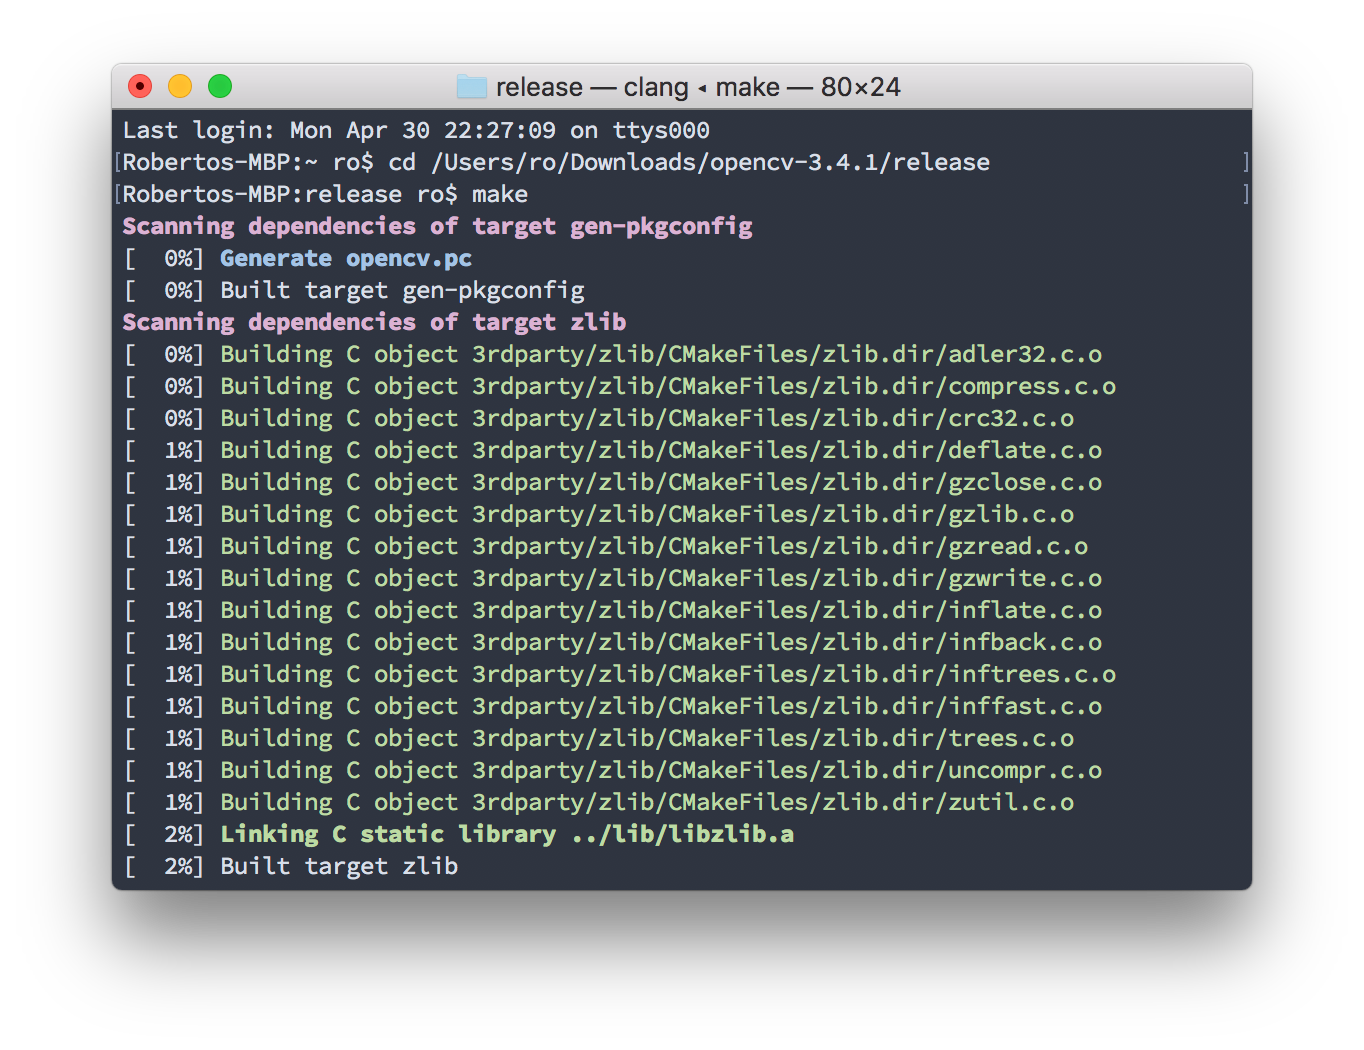
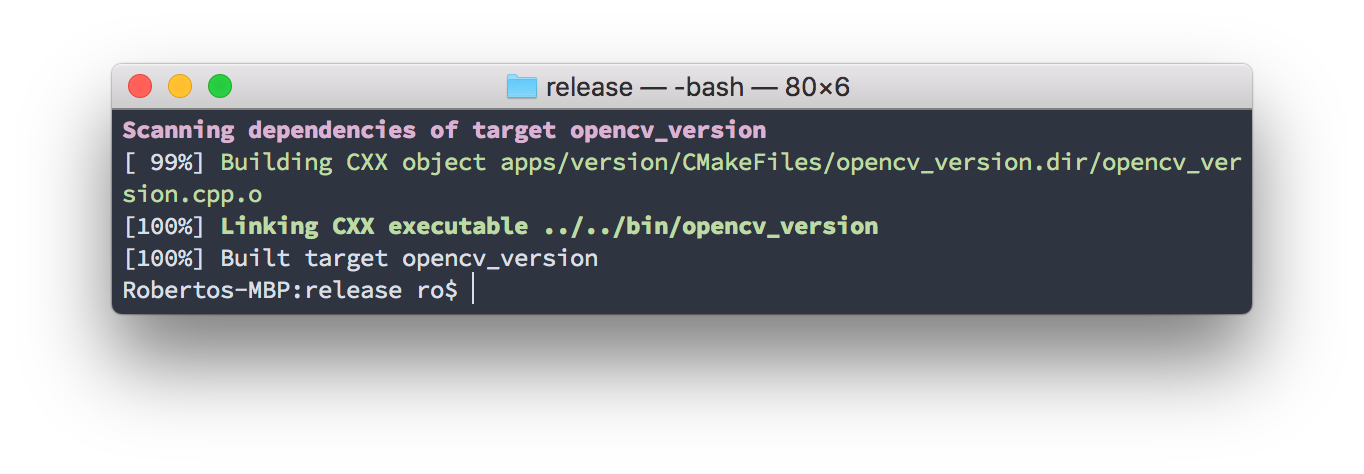
This process should take a while, and if everything runs ok you can type:
make install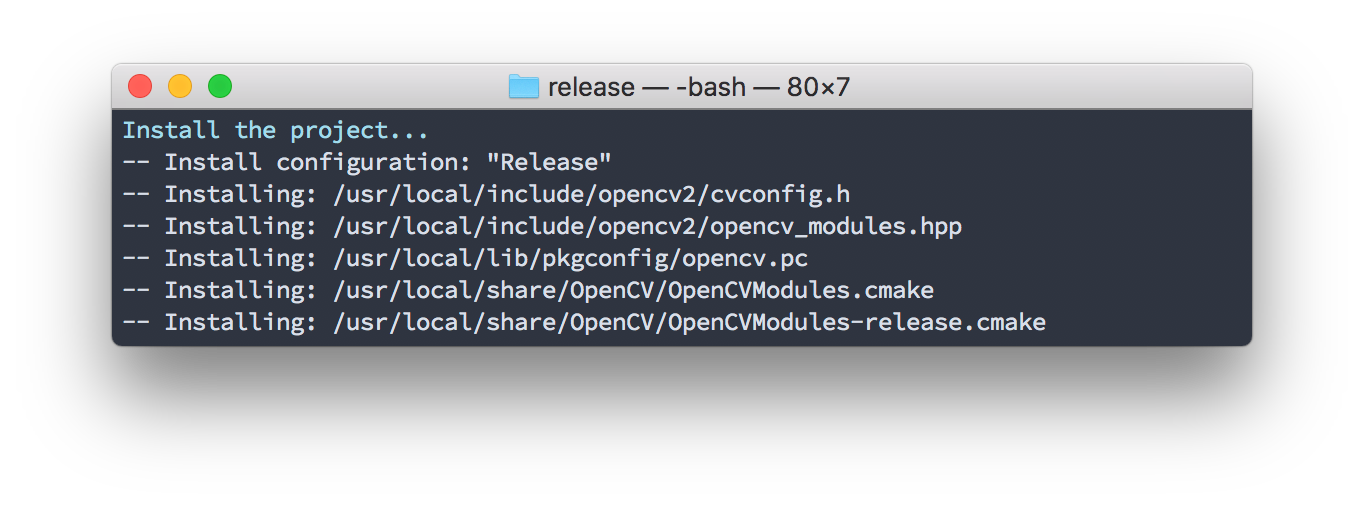
If you followed along up to this point, congrats, you just built and installed OpenCV with Qt from source. Now your OpenCV GUI will use the Qt framework.
This post was originally published on my Medium blog. You can check it out here.